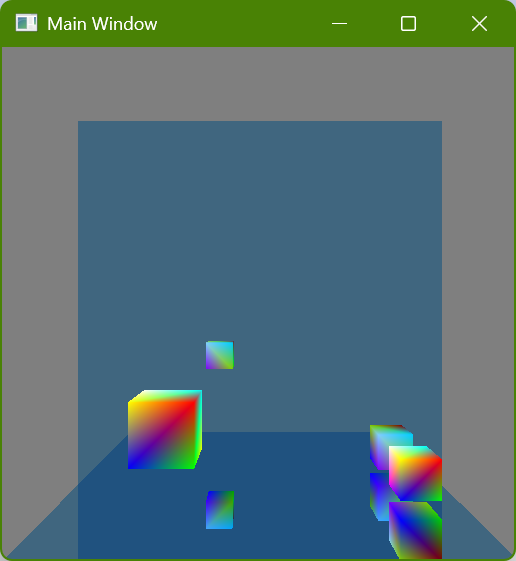
Antialiasing Raytracing

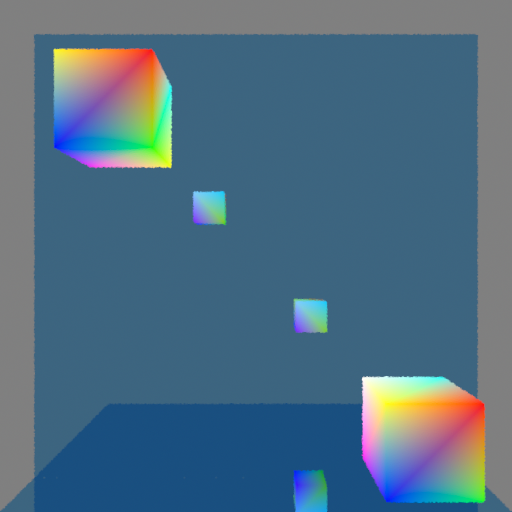
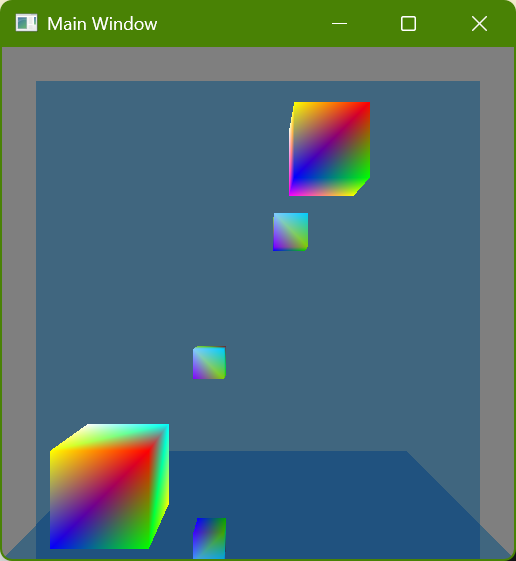
I wanted to try and see what it looked like to only have a single primary ray for each pixel but to change the offset of the intersection within that pixel randomly every frame. The results have to be seen in motion to properly evaluate, but below is an example of a single frame:
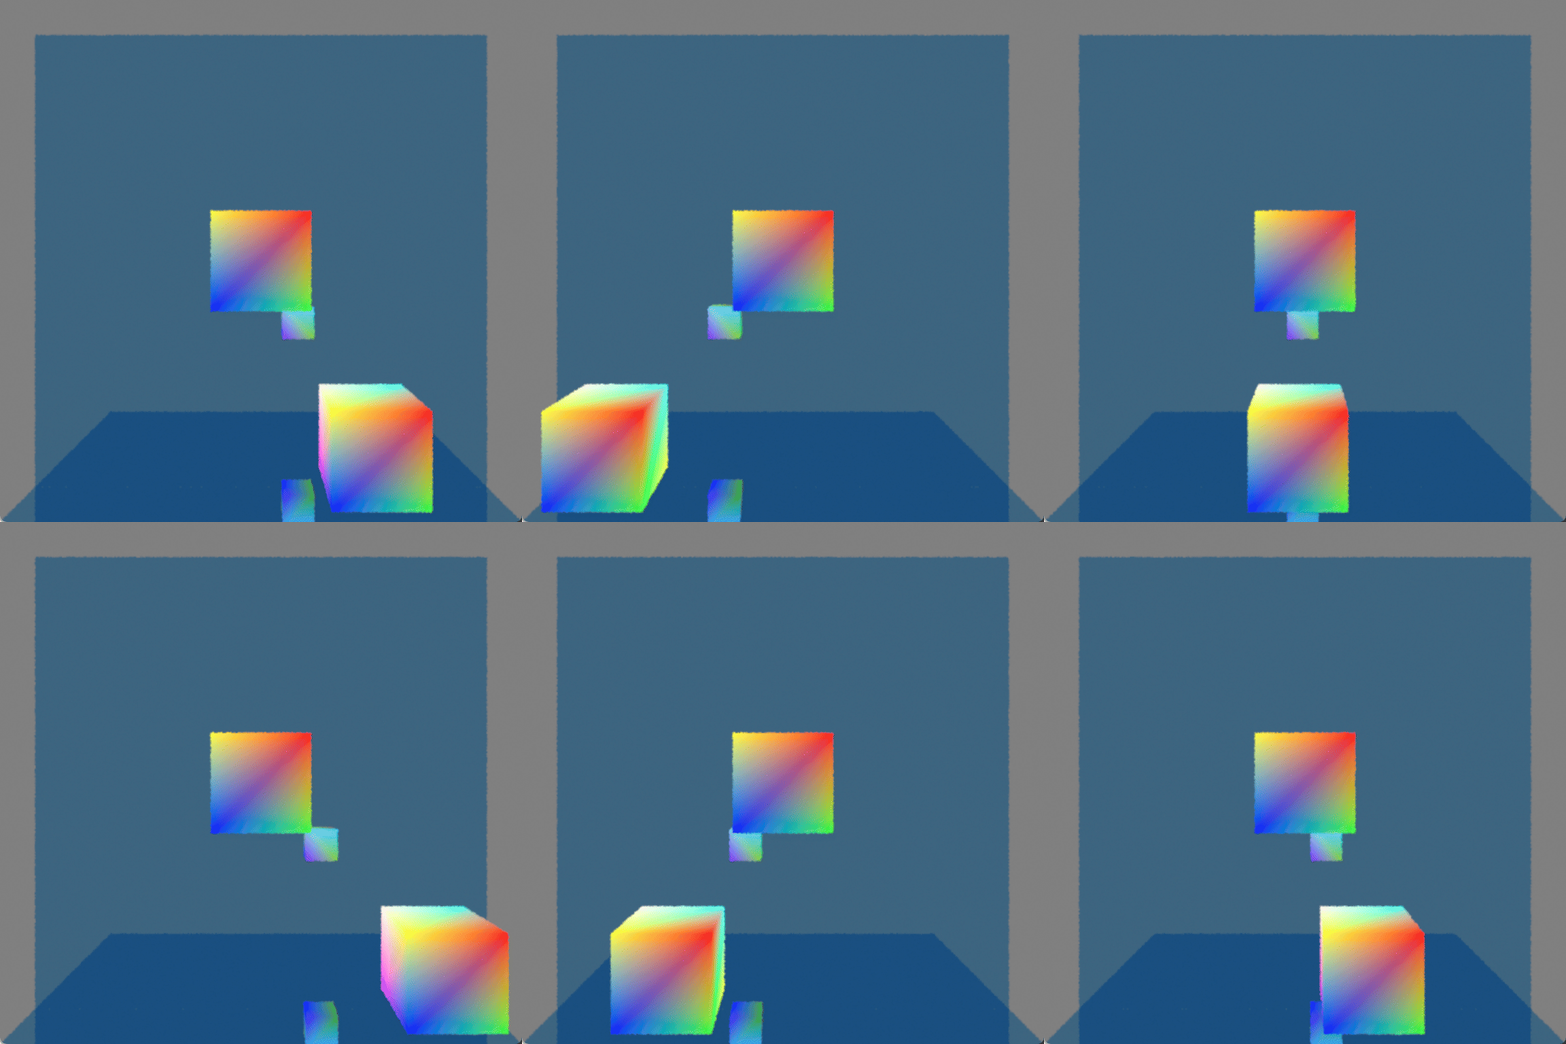
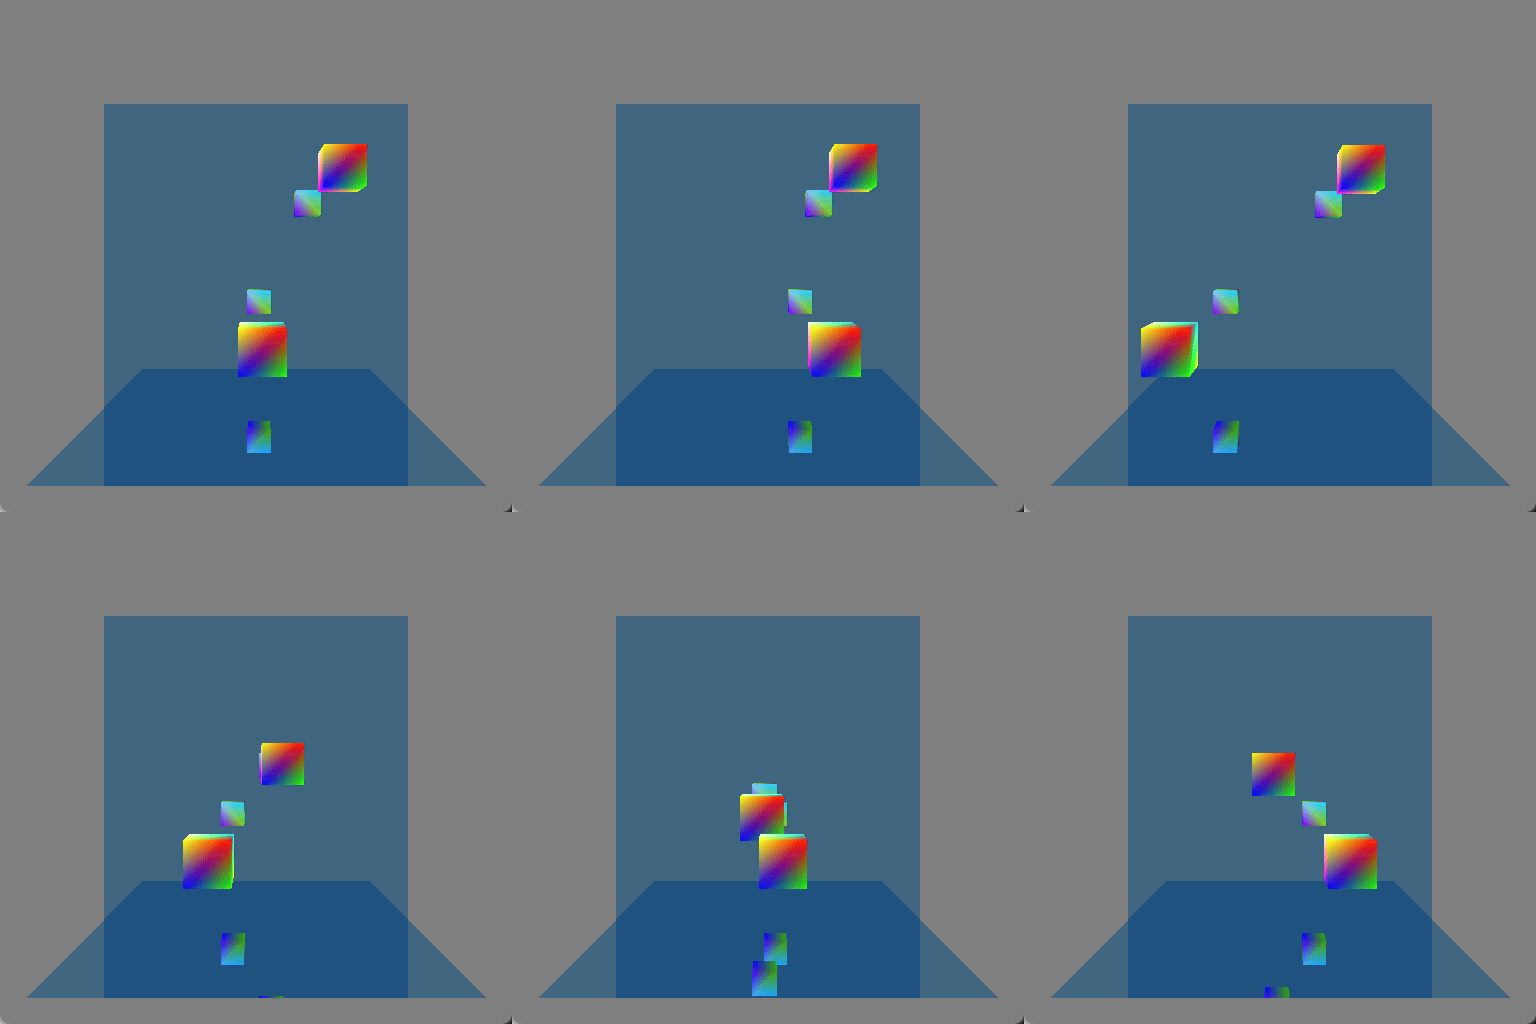
A gif also doesn’t properly show the effect because the framerate is too low, but it can give a reasonable idea:
If you want to see it in action you could download the program. The controls are:

  • Arrow keys to move the block
    • (I to move it away from you and K to move it towards you)
  • WASD to move the camera

The program relies on several somewhat new features, but if you have a GPU that supports ray tracing and you have a newish driver for it then the program will probably work. Although the program does error checking there is no mechanism for reporting errors; this means that if you try to run it but it immediately exits out then it may be because your GPU or driver doesn’t support the required features.

Samples and Filtering

In a previous post where I showed ray tracing the rays were intersecting the exact center of every pixel and that resulted in the exact same kind of aliasing that happens with standard rasterization (and for the same reason). This can be fixed by taking more samples (i.e. tracing more rays) for each pixel and then filtering the results but it feels wasteful somehow to trace more primary rays when the secondary rays are where I really want to be making the GPU work. I wondered what it would look like to only trace a single ray per-pixel but to adjust the sample position differently every frame, kind of similar to how dithering works.

You can see a single frame capture of what this looks like below:
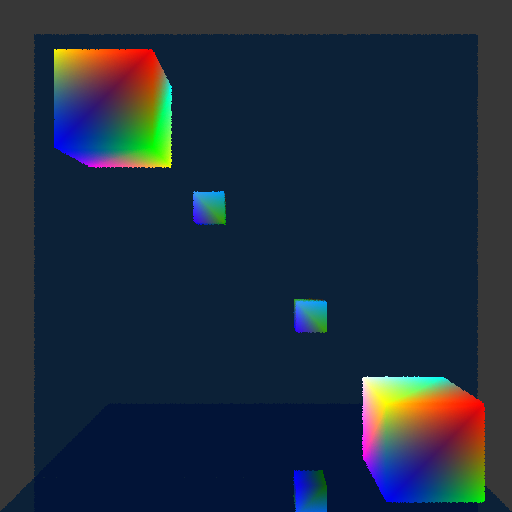
This is displaying linear color values as if they were sRGB gamma-encoded, which is why it looks darker (it is a capture from PIX of an internal render target). Ignore the difference in color luminances, and instead focus on the edges of the cubes (and the edges of the mirror, too, although the effect is harder to see there). Every pixel will only show an intersection with a single object, and if the area around that pixel contains an object’s edge then by changing where the intersection happens in that area sometimes a pixel will show one object and sometimes another object. (Side note: Just to be clear, this effect happens at every pixel and not just edges of objects. If you look closely you might be able to tell that the color gradients also have noise in them. The edges of objects, however, is where the results of these jittered ray intersections are really noticeable.)

In a single frame this makes the edges look bumpy. In a sequence of frames (like when the program is being run) the effect is more noisy; the edges still feel kind of bumpy but the bumpiness changes every frame. I had hoped that it might look pretty good in motion but unfortunately it is pretty distracting and doesn’t feel great.

Even with only a single intersection per pixel, however, it is possible to use samples from neighboring pixels in order to filter each pixel. That means that you could have up to nine samples for each pixel, even though only a single one of those nine samples would actually be inside of the pixel’s area. Let me repeat the preceding screenshot but then also show the version that is using filtering with the neighboring eight pixels so that you can compare the two versions next to each other:

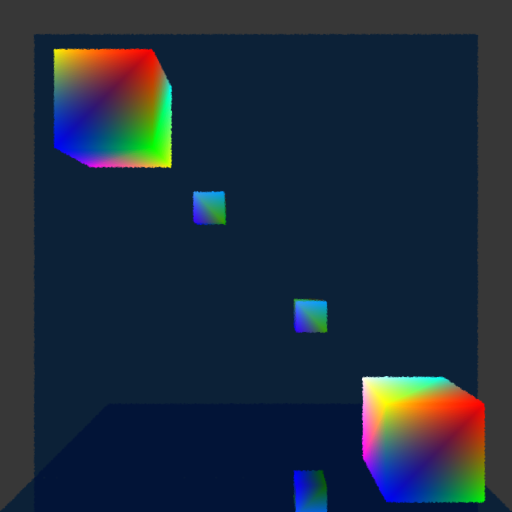
The same bumpiness contours are still there, but now they have been smoothed out. This definitely looks better, but it also makes the edges feel blurry (which makes sense because that is exactly what is happening). The real question is how does it look in motion?

Unfortunately this also didn’t look as good as I had hoped. It definitely does function like antialiasing, which is great, and you no longer see discreet lines of pixels appearing or disappearing as the cubes get closer or further from the camera. At the same time, the noise is more obvious than I had hoped. I think it is the kind of visual effect that some people won’t mind and will stop to notice but that other people will really find objectionable and constantly distracting. Again, if you’re interested, I encourage you to download the program yourself and try it to see what you think!

Is it Usable?

For now I am going to keep it. I like the idea of doing antialiasing “properly” and I think it will be interesting to see how this performs with smaller details (by moving the cubes very far from the camera I can get some sense for this, but I’d like to see it with actual detailed objects). There is also an obvious path for improvement by adding more samples per pixel, although computational expense may not allow that.

I haven’t looked into denoisers beyond a very cursory understanding and so it’s not clear to me whether denoising would make this problem better or whether using this technique would actually inhibit denoisers being able to work well.

I personally kind of like a bit of noise because it makes things feel more analog and real to me, but I realize that this is an individual quirk of mine that is far from universal (as evidenced by the loud complaints I read online when games have added film grain). Although the effect ends up being more distracting than I had hoped (I can’t claim that I would intentionally make it look like this if I had a choice) I still think it could potentially work as kind of an aesthetic with other noise. This will have to be evaluated further, of course, as I add more ray tracing effects with noise and create more complicated scenes with more complicated geometry.
Real-Time Ray Tracing on the GPU

It has been a long-standing goal of mine to program something using the hardware ray tracing capabilities that are now available and I finally have something to show:

I was introduced to ray tracing when I was a student at the University of Utah (my pages for class assignments were up for years and it was fun to go look at the images I had rendered; sadly, they eventually got removed and so I can’t link to them). At the time there was a lot of work being done there developing real-time ray tracers (done in software but not with the help of GPUs) which was really cool, but after I graduated I moved on to the games industry and although I never lost my love of ray tracing I don’t know that I ever did any further personal projects using it because I became focused on techniques being used in games.

When the RTX cards were introduced it was really exciting but I still had never made the time to do any programming with GPU ray tracing until now. It has been both fun and also gratifying to finally get something working.

Reflections

I first got ray tracing working a few weeks ago but I haven’t written a post until now. The problem was that the simple scene I had didn’t look any different from how it did when it was rasterized. Even though I was excited because I knew that the image was actually being generated with rays there wasn’t really any way to show that. The classic (stereotypical?) thing to do with ray tracing is reflections, though, and so I finally implemented that and here it is:

There are two colorful cubes and then a mirror-like wall behind them and a mirror-like floor below them:

I initially just had the wall mirror but I realized that it still showed something that could be done with rasterization (by rendering the scene a second time or having mirror image geometry, which is how older games showed mirrors or reflective floors) and so I added the floor mirror in order to show double reflections which really wouldn’t be seen with rasterization. Here is a screenshot where a single cube (in the lower-right corner) is shown four times because each reflective surface is also reflecting the other reflective surface:

Implementing Hardware Ray Tracing

One of the nice things about ray tracing compared to rasterization is how simple it is. The more advanced techniques used to make compelling images are harder to understand and require complexity to implement, but the basics of generating an image are quite straightforward and pretty easy to understand. I wondered if that would translate into working with the GPU, and I have good news but also bad news:

The Good News

The actual shaders that I wrote are refreshingly straightforward, and the code is essentially the same kind of thing I would write doing traditional CPU software ray tracing. I am using DirectX, and especially when using dynamic resource indexing it is really easy to write code the way that I would want to (in fact, with how I am used to working with shaders (which I have discovered is very outdated) I kept finding myself honestly amazed that the GPU could do what it was doing).

The following is shader code to get the normal at the point of intersection. I don’t know if it will look simple because of my verbose style, but I did change some of my actual code a little bit to try and shorten it for this post hehe:

// Get the renderable data for this instance
const StructuredBuffer<sRenderableData> renderableDataBuffer =
	ResourceDescriptorHeap[g_constantBuffer_perFrame.index_renderableDataBuffer];
const sRenderableData renderableData = renderableDataBuffer[InstanceID() + GeometryIndex()];
// Get the index buffer of this renderable data
const int indexBufferId = renderableData.indexBufferId;
const Buffer<int> indexBuffer = ResourceDescriptorHeap[
	NonUniformResourceIndex(g_constantBuffer_perFrame.index_indexBufferOffset + indexBufferId)];
// Get the vertex indices of this triangle
const int triangleIndex = PrimitiveIndex();
const int vertexCountPerTriangle = 3;
const int vertexIndex_triangleStart = triangleIndex * vertexCountPerTriangle;
const uint3 indices = {
	indexBuffer[vertexIndex_triangleStart + 0],
	indexBuffer[vertexIndex_triangleStart + 1],
	indexBuffer[vertexIndex_triangleStart + 2]};
// Get the vertex buffer of this renderable data
const int vertexBufferId = renderableData.vertexBufferId;
const StructuredBuffer<sVertexData> vertexData = ResourceDescriptorHeap[
	NonUniformResourceIndex(g_constantBuffer_perFrame.index_vertexBufferOffset + vertexBufferId)];
// Get the vertices of this triangle
const sVertexData vertexData_0 = vertexData[indices.x];
const sVertexData vertexData_1 = vertexData[indices.y];
const sVertexData vertexData_2 = vertexData[indices.z];
// Get the barycentric coordinates for this intersection
const float3 barycentricCoordinates = DecodeBarycentricAttribute(i_intersectionAttributes.barycentrics);
// Interpolate the vertex normals
const float3 normal_triangle_local = normalize(Interpolate_barycentricLinear(vertexData_0.normal, vertexData_1.normal, vertexData_2.normal, barycentricCoordinates));

The highlighted lines show where I am looking up data (this is also how I get the material data, although that code isn’t shown). In lines 2-3 I get the list of what I am currently calling “renderable data”, which is just the smallest unit of renderable stuff (currently a vertex buffer ID, an index buffer ID, and a material ID). In line 4 I get the specific renderable data of the intersection (using built-in HSL functions), and then I proceed to get the indices of the triangle’s vertices, and then the data of those vertices, and then I interpolate the normal of each vertex for the given intersection (I also interpolate the vertex colors the same way although that code isn’t shown). This retrieval of vertex data and then barycentric interpolation feels just like what I am used to with a ray tracer.

The following is most of the shader code used for recursively tracing a new ray to calculate the reflection (I have put ... where code is removed to try and remove distractions):

RayDesc newRayDescription;
{
	const float3 currentRayDirection_world = WorldRayDirection();
	{
		const float3 currentIntersectionPosition_world = WorldRayOrigin() + (currentRayDirection_world * RayTCurrent());
		newRayDescription.Origin = currentIntersectionPosition_world;
	}
	{
		const cAffineTransform transform_localToWorld = ObjectToWorld4x3();
		const float3 normal_triangle_world = TransformDirection(normal_triangle_local, transform_localToWorld);
		const float3 reflectedDirection_world = reflect(currentRayDirection_world, normal_triangle_world);
		newRayDescription.Direction = normalize(reflectedDirection_world);
	}
	...
}
const RaytracingAccelerationStructure rayTraceAcceleration = ResourceDescriptorHeap[
	g_constantBuffer_perFrame.index_rayTraceAccelerationOffset
		+ g_constantBuffer_perDispatch.rayTraceAccelerationId];
...
sRayTracePayload newPayload;
{
	newPayload.recursionDepth = currentRecursionDepth + 1;
}
TraceRay(rayTraceAcceleration, ..., newRayDescription, newPayload);
color_material *= newPayload.color;

A new ray is calculated, using the intersection as its origin and in this simple case a perfect reflection for its new direction, and then the TraceRay() function is called and the result used. Again, this is exactly how I would expect ray tracing to be and it was fun to write these ray tracing shaders and feel like I was putting on an old comfortable glove. (Also again, it feels like living in the future that the GPU can look up arbitrary data and then trace arbitrary rays… amazing!)

The Bad News

Unlike the HLSL shader code, however, the C++ application code was not so straightforward. I should say up front that I am not trying to imply that I think the API has anything wrong with it or is poorly designed or anything like that: The way that it is all makes sense, and there wasn’t anything where I thought something was bad and should be changed. Rather, it’s just that it felt very complex and hard to learn how it all worked (and even now when I have it running and have wrapped it all in my own code I find that it is difficult for me to keep all of the different parts in my head).

I think part of the problem for me personally is that it’s not just DirectX ray tracing (“DXR”) that is new to me, but also DirectX 12 (all of my professional experience is with DX11 and the previous console generation which was DX9-ish). I think that it’s pretty clear that learning DXR would have been much easier if I had already been familiar with DX12, and that a large part of what feels like so much complexity is just the inherent complexity of working with low-level GPU stuff, which is new to me.

Still, it seems safe to assume that many people wanting to learn GPU ray tracing would run into the same difficulties. One of the nice things about ray tracing that I mentioned earlier in this post is how simple it is, but diving into it on the GPU at the pure low level that I did is clearly not a good approach for anyone who isn’t already familiar with graphics. One thing that really frustrated me trying to learn it was that the samples and tutorials from both Microsoft and Nvidia that purported to be “hello world”-type programs still used lots of helper code or frameworks and so it was really hard to just see what functions had to be called (one big exception to this was this awesome tutorial which was exactly what I wanted and much more helpful to me for what I was trying to do than the official Microsoft and Nvidia sample code). I think I can understand why this is, though: If someone isn’t trying to write their own engine explicitly from scratch but instead just wants to trace rays then writing shaders is probably a better use of time than struggling to learn the C++ API side.

What’s Next?

Although mirror reflections are cool-ish, the real magic that ray tracing makes possible is when the reflections are spread out. I don’t have any experience with denoising and so it’s hard for me to even predict what will be possible in real time given the limited number of rays that can be traced each frame, but my dream would be to use ray tracing for nice shadows. Hopefully there will be cooler ray tracing images to show in the future!